 Hatches...
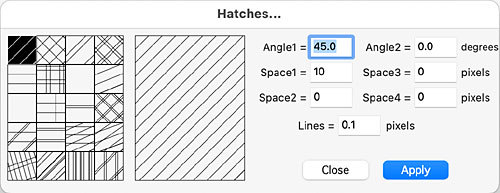
Brings up the pane to the right which allows you to edit the 20 default hatches that can be applied from the Action >> Hatch... menu item. Hatches are made up of continuous lines, unlike Textures, which are made up of various arrangements of mostly discontinuous lines to make a pattern.
You may see slightly different default hatches – I have edited some of mine.
Editing the hatches is very simple:
Angle1 is the basic angle of the first set of lines that make up the hatch. Here (and very commonly) this is set to 45º. If you wanted this particular hatch to go "the other way", you would set the angle to -45º or 135º.
Space1 is the distance between the lines – 10 pixels in the example (the top left hatch).
Space2. Entering a number in the Space2 box produces double lines; Space2 is the distance between the first and second lines. The third hatch in the top row has the settings:
Angle1: 45º
Space1: 15
Space2: 5
Angle2 is the angle of a second set of lines that run at a different angle to the first.
Space3 is the distance between the lines that are at Angle2.
Space4 adds double lines to the Angle2 lines and specifies the distance between them and the first set. The fourth hatch in the top row has the settings:
Angle1: 45º
Angle2: 135º
Space1: 10
Space2: 3
Space3: 10
Space4: 3
Lines is simply the thickness of the lines making up the hatch.
Once you have done editing click the Apply button and then Close.
 Textures...
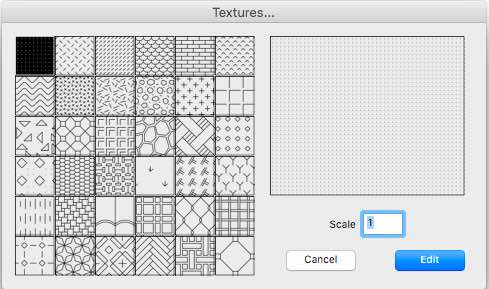
Brings up the pane to the right which allows you to edit the 36 preset textures that can be applied from the Action >> Textures... menu item.
While is easy to edit the textures, the results can be a bit unexpected, and getting a pattern that you want can be a bit tricky.
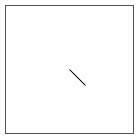 To edit a texture, select it and hit the Edit button. The small image to the right is the top left texture.
The little line roughly in the centre is the actual texture pattern.
The bounding rectangle controls the repeat – the bigger the rectangle the greater the repeat distance.
Because it's easy to mess up a texture and hard to get back to the original, it's best to click on each of the texture elements and write down the data concerning it (which you will see in the main Edit pallet).
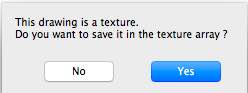 Once you are confident you can get back to the original, edit away to your heart's content!. Once you are done, close the drawing (hit the red close disc top left); this will bring up the little pane to the right. Hit "Yes" to save your new texture. Hit "No" to leave the texture as it was.
You may find that you need to experiment quite a bit to get what you want.
The Scale box is not really part of the editing process. You can enter any number (including decimals) in there and see the result, but it doesn't change the actual texture. The Scale function is used, if wished, when you are applying the texture from the Action >> Textures... menu item.